
Comprehensive Deck Building Guide
Building a deck can seem like a daunting project, but with the right plan and materials, it’s more achievable than you might think. Whether you’re a DIY enthusiast or someone who just wants to understand the process, this guide covers everything you need to know about building a deck—from planning and material selection to the finishing touches. By the end, you’ll have a comprehensive understanding of how to create a deck that complements your home and suits your lifestyle.
Step 1: Planning Your Deck Project
Assessing Your Yard and Home
The first step in building a deck is to evaluate your yard and how a new deck will fit with your home. Walk around your yard and observe features like sunlight, natural shade, and the slope of the land. Does the yard get afternoon sun, or is it shaded by large trees? Understanding these factors will help you decide on the best size and placement for your deck.
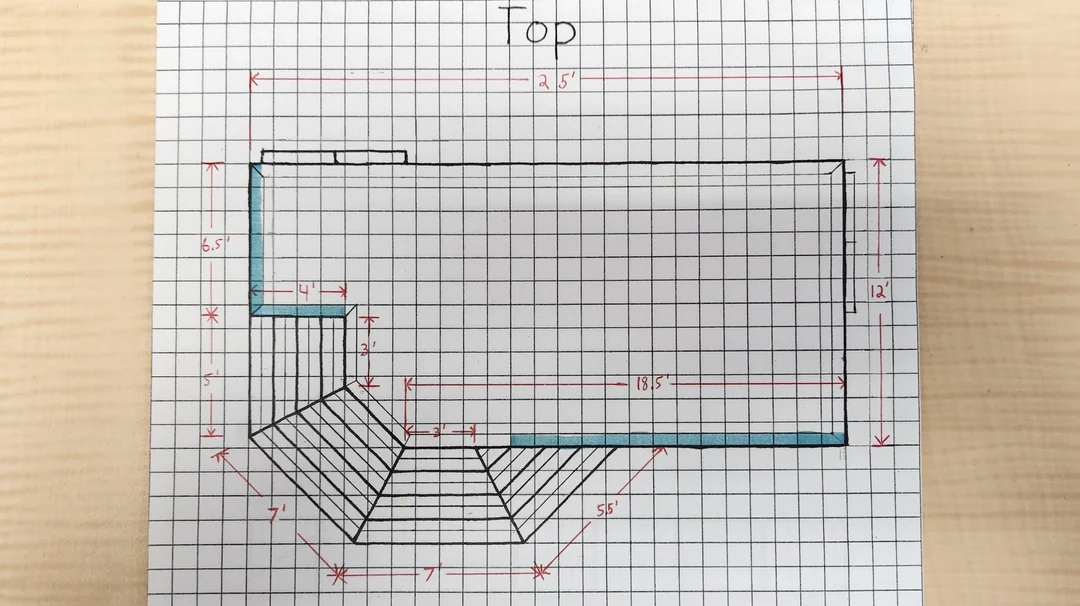
Drafting a Deck Blueprint
Before you buy any materials, create a blueprint of your deck’s design. Include measurements, the number of support posts, and where you’ll place features like stairs or built-in seating. You don’t have to be an architect, but having a simple drawing will help guide your construction.
For a better understanding of how much your deck project might cost, check out our detailed article, How Much Does It Cost To Build A Deck? Everything You Need to Know.
Integrating Landscape Features
A well-designed deck should complement your yard’s existing landscape. If you have trees, shrubs, or a sloped yard, consider incorporating these natural features into the deck design. For example, you might design the deck around a tree or include planters that match your garden.
Step 2: Choosing Framing Materials
Douglas Fir
Douglas fir is a popular option for framing decks, providing strength and budget-friendliness. It requires regular maintenance, such as staining or painting, to protect against moisture and insects. While it’s not as durable as pressure-treated wood, it can work well when installed properly and maintained regularly.
Pressure-Treated Lumber
Pressure-treated lumber is infused with chemicals to resist moisture, rot, and insects, making it a top choice in Spokane, Washington, where the wet climate can be harsh on untreated wood. For more information on why pressure-treated wood is beneficial, check out our article, Why Use Pressure Treated Lumber & Its Benefits. When using pressure-treated lumber, be sure to use coated nails or screws to prevent rust.
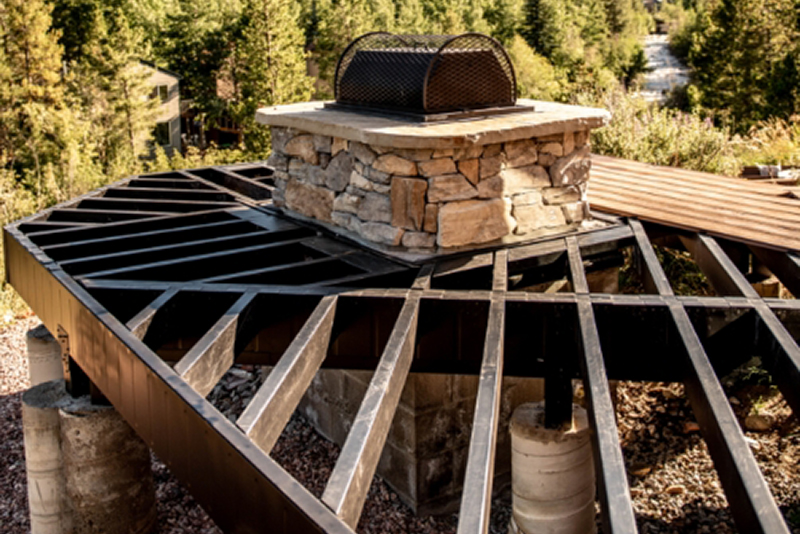
Steel Framing for High Durability
Steel framing is the most durable option, resisting warping, rot, and insects. While it costs more upfront, it’s ideal for large decks or decks in harsh climates. If you’re aiming for a low-maintenance deck that can last decades, steel framing is the way to go.

Step 3: Selecting Decking Materials
Natural Wood (Cedar)
Cedar is a classic decking choice, providing a warm, natural look. While beautiful, it requires regular maintenance like sanding and sealing. Wood decking must be sanded after installation to ensure a smooth surface, and it needs to dry before applying stain or sealer.
Composite Decking
Composite decking combines recycled wood fibers and plastics, offering a durable, low-maintenance option. It resists rot, warping, and insects, making it perfect for Spokane’s wet climate. Composite decking comes with warranties ranging from 25 to 50 years and does not need to be painted or stained.
PVC Decking
PVC decking is made entirely from plastic, offering maximum resistance to moisture. It’s often chosen for its ability to maintain its color over time, even under harsh sun exposure. If you want a deck that’s virtually maintenance-free, PVC might be the right choice.

Step 4: Designing the Deck Layout
Rectangular Decks
Rectangular decks are the simplest and most budget-friendly to build. They offer a clean, classic look and are easy to plan, frame, and construct.
Angled and Curved Decks
If you want to add character to your deck, consider angled or curved designs. Angled decks add visual interest without significantly increasing costs, while curved decks provide a modern, elegant feel. Keep in mind that curved decks require specialized materials and craftsmanship, which increases the overall cost.
Accessibility and Safety
Make sure your deck design includes easy access points, especially if you plan to connect it to your home. Consider features like wide stairs, railings, and pathways to enhance safety and usability. For elevated decks, guardrails are essential and must meet local building codes.
Step 5: Preparing the Site
Marking the Layout
To ensure proper alignment, use stakes and a string line to establish a square line from the house to where the footings will be placed.
Digging Post Holes
To create a stable foundation, dig post holes below the frost line, which is 2 feet below the ground surface in Spokane. Make sure the holes are evenly spaced and aligned with your deck’s layout.
Local Codes and Permits
Before you start building, check with your local municipality to ensure you have the necessary permits. In Spokane, permits are required for decks over 32 inches off the ground or larger than 200 square feet. Learn more about the requirements in our blog post, Do You Need A Permit To Build A Deck?.
Step 6: Building the Deck Frame
Installing the Ledger Board
The ledger board attaches your deck to the house and provides the main support. Remove any siding, install flashing, and secure the ledger with lag bolts to prevent water damage and ensure stability.
Setting Post Bases and Ensuring Posts Are Plumb
Start by setting the post bases on your deck’s footings, creating a solid foundation for the support posts. Plumb means that the posts are perfectly vertical, which is crucial for structural integrity. Use a level to ensure that each post is plumb before securing it to the base. This prevents leaning and uneven weight distribution, ensuring the deck will be stable and level.
Installing the Beam
Once the posts are securely attached to the bases and are confirmed to be plumb, place the beam on top of the posts. Ensure the beam is level and securely fastened to the posts. The beam acts as the main support for the joists, distributing the weight evenly and providing stability to the deck structure.
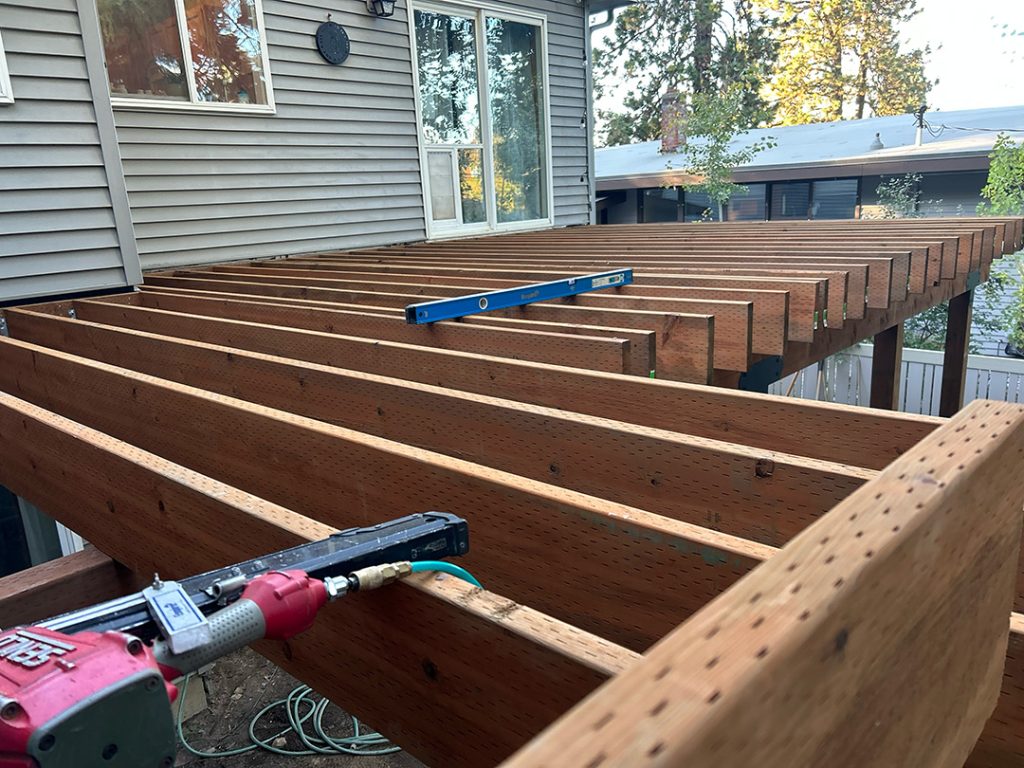
Framing the Joists with Ladder Blocks and Rim Board
Attach joists to the ledger board, ensuring they are level and evenly spaced. Install ladder blocks along the edges of the deck and in the middle if the deck width exceeds standard decking lengths (e.g., for a 24-foot deck using two 12-foot boards). For picture framing, cut 45-degree angles at the corners to hide the end cuts. After securing all joists, cut the ends straight, attach the rim board, and square the deck to the beam. Use nails or hardware to secure the joists to the beam. Add blocking over the beam to enhance the deck’s strength, and install blocks for top-mounted handrails where needed.
Applying Joist Tape
Before laying down the decking, install joist tape on top of the joists and beams. Joist tape acts as a protective barrier, preventing water from seeping into screw holes and rotting the wood beneath. This simple addition can significantly extend the lifespan of your deck by reducing moisture-related decay.
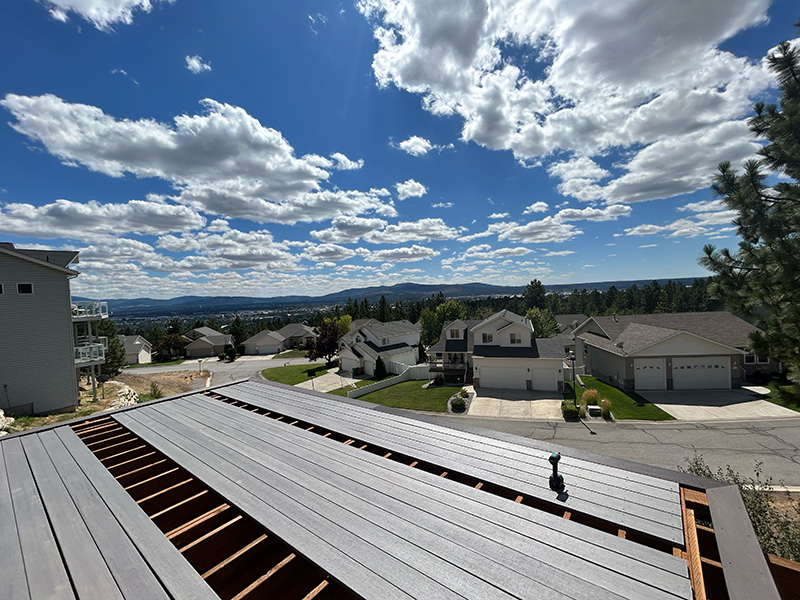
Step 7: Installing Deck Boards and Fascia
Installing Deck Boards
Select fasteners that match your decking material. For natural wood, use corrosion-resistant screws. For composite and PVC decking, hidden fasteners offer a clean, seamless look.
Most decking materials require 3/16-inch gaps between boards for expansion and contraction, ensuring proper drainage and preventing warping. Picture frame installation involves placing boards around the perimeter of the deck, hiding cut ends with 45-degree miter cuts.
Adding Fascia
Fascia is installed after the decking is complete and while building the stairs. It wraps around the perimeter of the deck and covers the edges of the boards, creating a clean, finished look. In Spokane, building code requires that the space between stair treads cannot allow a 4-inch ball to pass through, making fascia not only a code requirement but also an attractive feature.
Fascia provides a polished finish to the deck and stairs, concealing structural elements for a more cohesive design. It adds to the overall aesthetic appeal of the deck, making it look more refined and complete.
Step 8: Adding Deck Railings and Stairs
Guardrail Installation
Guardrails are required for decks over 30 inches high. Make sure no part of the guardrail allows a 4-inch ball to pass through, in compliance with Spokane building codes.
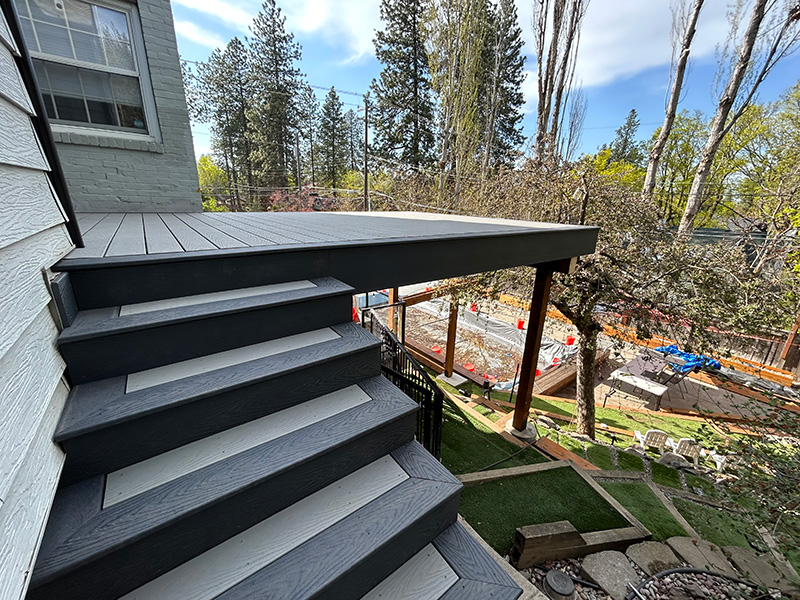
Stair Construction
Stairs should be constructed to provide a smooth transition from the deck to the yard. Make sure they are wide enough for easy access and include handrails for safety. For a detailed guide on building deck stairs, check out How To Build Deck Stairs Quickly and Easily.
Handrails and Balusters
Attach handrails correctly to ensure long-term stability. For side-mounted handrails, use hardware that reinforces the rim board to prevent pull-away. For top-mounted handrails, use large blocks with the correct fasteners to ensure they are stout and secure.
Step 9: Finishing Touches
Sealing or Staining Wood Decks
If you’ve used natural wood, sand the surface after installation to create a smooth finish. Once dry, apply a deck sealer or stain to protect against moisture and sun damage.
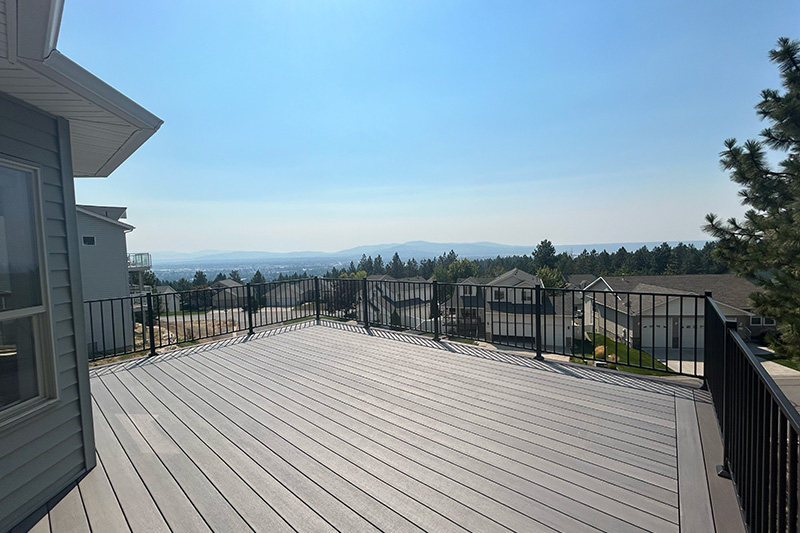
Setting Up Furniture and Décor
Once the deck is complete, set up outdoor furniture, potted plants, and décor to create a welcoming space. If you’ve used composite or PVC decking, there’s no need for sanding or staining—just set up and enjoy!
Summary
From planning to the final touches, building a deck requires careful consideration at every step. By following this guide, you’ll be able to create a deck that not only enhances your outdoor space but also adds value to your home. Whether you’re using Douglas fir, pressure-treated wood, or steel framing, each decision shapes the final outcome. Take your time, plan thoroughly, and enjoy the process of building your own backyard retreat.
Frequently Asked Questions
Ready to Build Your Dream Deck?
Your dream deck is just a call away! Whether you’re looking to create a cozy backyard retreat or an expansive space for entertaining, we at Pacific Northwest Decks have the expertise to make it happen.
We specialize in custom decks tailored to your needs and budget in Spokane, Washington, and surrounding areas.
Visit our Custom Deck Services page to explore your options, or Contact Us today to schedule a phone consultation and start planning your outdoor transformation!